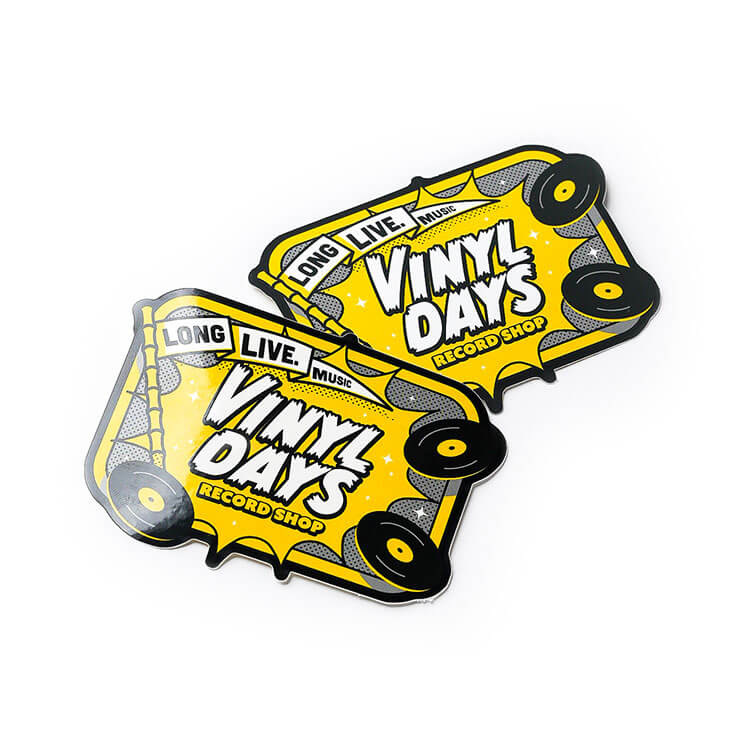

Make your own Custom Stickers
Create unique stickers using our incredibly flexible and easy-to-use sticker maker. Reinforce your brand, customize your equipment or simply spread joy with stickers.
Print customized stickers
Choose your desired cutline, size, quantity and material. Upload your design and go to our editor.
Product
Shape
Material
Finish
Size, inch (WxH)
Quantity
Simple Customization
Online sticker & label maker
Superior Service
Flexible and reliable support
Exceptional Quality
The best stickers & labels on earth
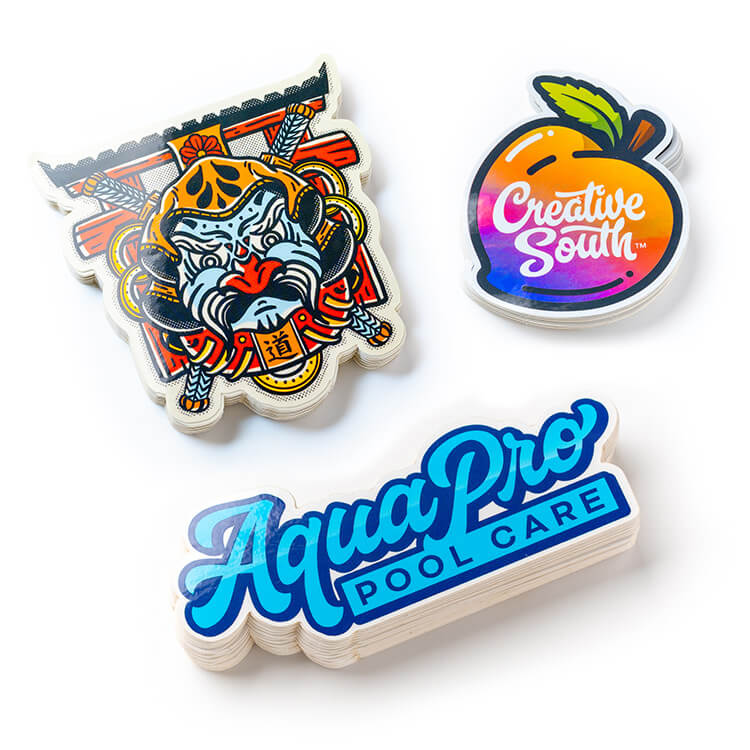
Make stickers by material
Make custom stickers from any of our materials with unique properties
Transform your ideas into high-quality custom stickers
In the vibrant world of StickerApp, your creativity meets our cutting-edge technology to turn your visions into high-quality, custom stickers.
Whether you're looking to bring your business logo to life, add a personal touch to your belongings, or create unique promotional material, our sticker services make the process effortless and enjoyable.
Choose from a plethora of sizes, materials, and finishes to perfectly capture your vision. Regardless if you're a design novice or a seasoned pro, our platform guides you through each step, ensuring your custom stickers are exactly how you imagined them.
Experience our celebrated, durable, and weatherproof materials
Our commitment to quality is unwavering. Utilizing only the finest materials and the latest in printing technology, we ensure your designs not only look stunning but also stand the test of time. From weather-resistance to dishwasher-safe, your stickers will maintain their brilliance through every adventure.
In case you aim for understated elegance or want to make a bold, iridescent statement, we have you covered. With options ranging from sleek vinyl to eye-popping holographic and everything in between, the possibilities are limitless. Choose matte, glossy, or our unique holographic cracked ice finish to give your stickers the exact look and feel you desire.
For every surface, every purpose: beyond ordinary stickers
Our diverse product range includes everything from heavy-duty stickers for industrial use to charming wall stickers that brighten any room. Our materials are as varied as your needs, featuring everything from traditional vinyl to innovative options like prismatic and glow-in-the-dark stickers.
Our capabilities are extensive; elevate your branding with kiss-cut stickers for that extra charm, or transform your logo into dual-purpose business cards with crucial info printed on the sticker's back paper. With quick proofing and shipping, your creations will be ready in no time.

Ready to turn your ideas into tangible art?
At StickerApp, we're more than just a printing service; we're a community of creators, businesses, and individuals passionate about quality, creativity, and expression.
We invite you to discover how fun, and cost-effective, custom stickers can be. Make a single masterpiece or bulk orders for your business. We offer transparent pricing and insights into maximizing your investment in custom stickers.
Begin your creative journey to explore the endless possibilities of custom stickers by selecting your preferences in our wizard. With our easy-to-use platform, quality guarantee, and passion for creativity, your perfect sticker is just a few clicks away!