Excellent 4.7 Stars rating from Trustpilot for Stickerapp

Designing custom Sticker Sheets: A tutorial and FAQ

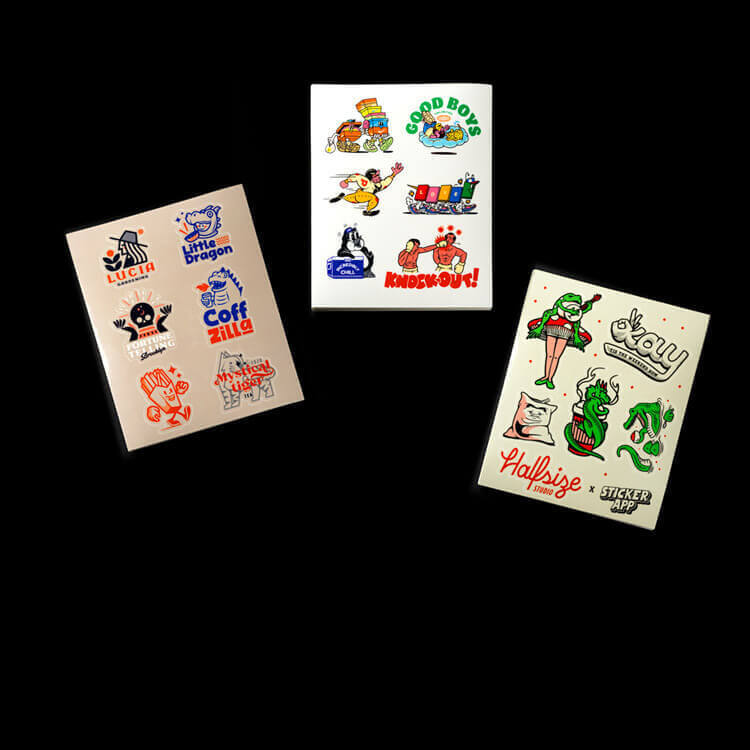
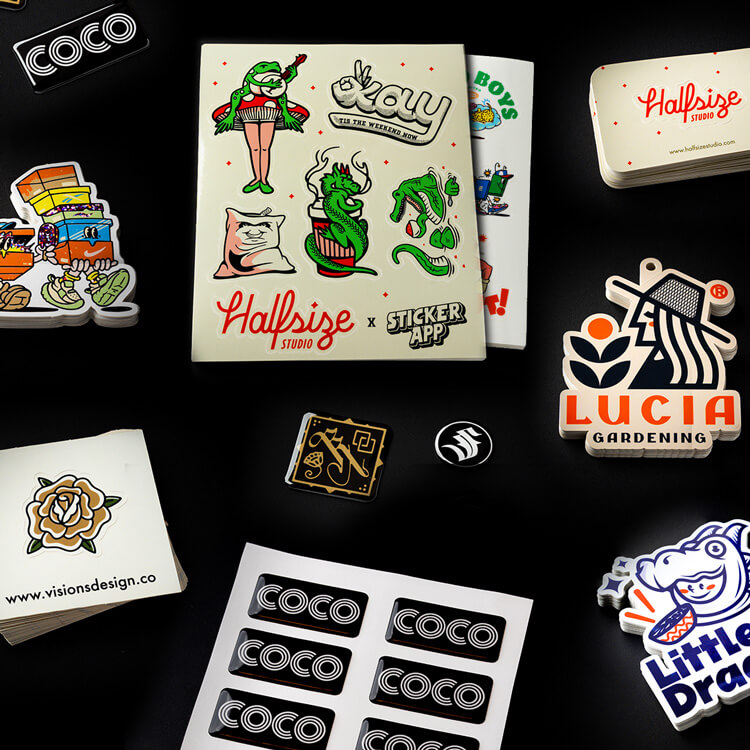
Creating custom sticker sheets is a fun and effective way to express yourself or boost your brand's visibility.

These aren't just playful items for children; they're powerful tools for businesses and delightful personalization for everyday items. Follow this guide to craft your sticker sheets, perfect for everything from promotional giveaways to personalizing your gear.

Creating Your Custom Sticker Sheet: A Step-by-Step Guide

  1. Select the Sheet Size: We offer three standard sizes, but you have the flexibility to specify a custom dimension that fits your vision.
  2. Determine Quantity: Decide on the number of sticker sheets you need. Whether it's a small batch for a niche audience or a bulk order, we've got you covered.
  3. Choose Your Material: Pick from a variety of materials including Vinyl, Holo, Glow, Glitter, Clear, Mirror, Prismatic, Aluminum, and Paper to match the look and feel you want.
  4. Upload Your Designs: Easily upload your graphics or drag and drop them onto the sticker sheet layout. Adjust your designs within the cutline (shown in pink) and bleed area (indicated by dotted blue lines).
  5. Customize Your Layout: Position your stickers on the sheet to your liking. You can add and arrange additional elements like text, images, or background colors as well.
  6. Individualize Elements: Click on any sticker to edit it separately. You can apply the same customization to the sheet’s background.
  7. Select a Finish: Opt for a Glossy or Matte laminate to give your stickers the desired sheen and extra protection.
  8. Consider Back Paper Printing (Optional): Some materials allow for printing on the reverse side. Utilize this space for informative content such as QR codes, websites, or additional imagery.
  9. Specify Special Effects: If you're seeking unique touches like spot gloss or embossing, leave a comment with your request.
  10. Review and Finalize: Once you’re content with your design, it's ready to be turned into reality!
     

File Setup for Printing Your Sticker Sheet:

  • Preferred File Types: Upload your artwork as a vector PDF or a layered PSD file for the best quality.
  • Layers: Ensure you have separate layers for your artwork, cutlines, and if applicable, the background image.
  • Bleeds and Safety Margins: All cutlines should be at least 0.075 inches (2 mm) from your artwork to prevent design elements from being cut off. Similarly, include a 0.075-inch bleed around each sticker, and maintain the same distance between adjacent cutlines.
  • Templates and Assistance: For ease, download our template to guide your design. If you need help with creating cutlines, visit our tutorial [link to tutorial]. Can't make cutlines? Don’t worry, we can do it for you—just let us know!

FAQ

  • What should I do to ensure my metallic stickers look their best?

Use high-resolution images and the recommended CMYK values to ensure the metallic colors shine through vividly.

  • Can I have only certain parts of my sticker with a metallic effect?

Yes, you can! Just use a separate layer or layer mask to indicate the metallic areas in your design file.

  • How do I indicate which parts I want metallic if I don't have a layer file?

Leave us a comment in the editor specifying your requirements, and we'll reach out if we need further clarification.

  • Are metallic stickers durable for outdoor use?

Yes, our metallic stickers are laminated for outdoor use, making them weather and wear-resistant.

Create your custom metallic stickers with us today and experience the impact of a high-quality, eye-catching finish that sets your design apart. Whether it's for personal expression or business branding, our metallic stickers are sure to make a statement.