How do I apply DTF heat transfers?
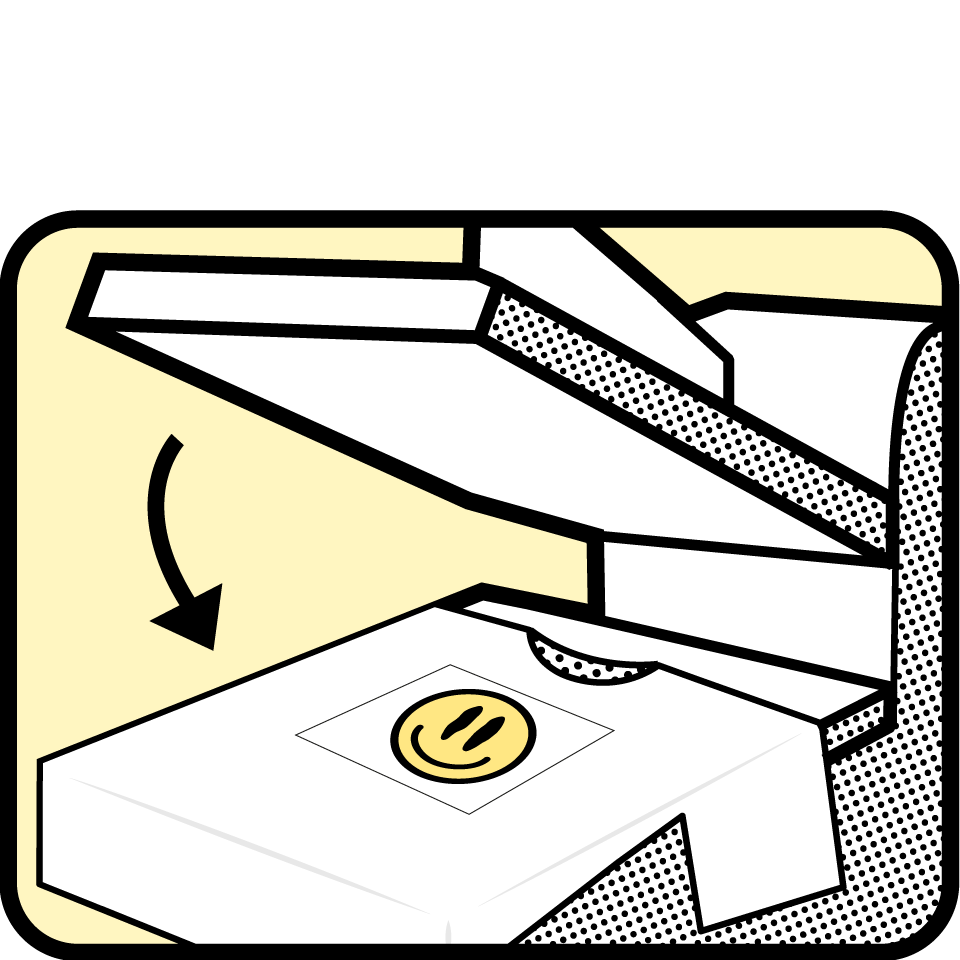
For best results, use a heat press at 300°F (150°C) with medium pressure for 10–30 seconds. If using an iron, which is more suitable for smaller designs, apply 300–400°F (150–200°C) with firm, even pressure and slow movements for 60 seconds. Adjust time and temperature for heat-sensitive materials.
Wait a few seconds before removing the transfer film with a smooth, swift motion. Pull it off sideways rather than lifting it upward. If needed, place parchment paper over the design and reapply heat for a few more seconds at a moderate temperature.

Step 1: Position Your Design
Start with a flat, heat-safe surface. Place your transfer exactly where you want it—alignment is key!

Step 2: Heat and Pressure
Heat press 10–30 seconds at 300–390°F (150–200°C), or iron 1 minute. Keep firm, even pressure.

Step 3: Pick and Peel
Peel off the film sideways to unveil your masterpiece. Follow care tips to keep it looking fresh.

Step 4: Enjoy!
See full guide below
How to Apply DTF Transfers: A Step-by-Step Guide
DTF (Direct to Film) transfers provide a durable and vibrant way to customize fabrics. A consistent heat source, firm pressure, and correct peeling technique ensure a strong and long-lasting transfer.
-
Choosing the Right Heat Source
To apply a DTF transfer, you need a heat source that provides steady temperature and pressure. A heat press is the preferred tool because it ensures even heat distribution. A household iron can work for small projects, but for larger or more detailed designs, a heat press is highly recommended for better durability and consistent results.
For best results, we recommend using a household iron only for smaller designs, ideally no larger than the iron’s surface area.
-
Heat and Time Settings
The ideal settings depend on the fabric, transfer type, and environmental conditions, so some adjustments may be necessary.
A heat press should typically be set to 300°F (150°C) with medium pressure for 10–30 seconds. If using an iron, set the temperature between 300–400°F (150–200°C), apply firm and even pressure, and press for 60 seconds using slow movements.
For heat-sensitive materials, a lower temperature of 230–265°F (110–130°C) may be necessary, combined with a slightly longer pressing time.
Since materials and application conditions can vary, it’s always a good idea to test on a small area first before applying the full design.
-
Applying the Transfer
Before pressing, ensure that the fabric is clean and wrinkle-free by preheating it for a few seconds.
Place the DTF transfer film on the fabric with the design facing up. If using a heat press, apply medium pressure at the recommended temperature and time. If using an iron, press firmly in one spot for a few seconds, then move slowly across the design to maintain even heat.
After pressing, wait a few seconds before peeling the transfer film. Instead of pulling it straight up, roll or pull it off sideways in a smooth motion to prevent lifting the edges. If the transfer isn’t fully adhering, place a sheet of parchment paper over the design and reapply heat for a few seconds at a moderate temperature.
-
Troubleshooting and Additional Tips
If the transfer film is difficult to remove, it may need a few extra seconds to set before peeling. If edges start to lift, increase pressure or repress the design briefly. For best adhesion, most transfers should be peeled warm, but some materials may require a cool peel. If adhesion issues persist, verify that the fabric is suitable for DTF transfers, as certain coatings or finishes can interfere with bonding.
-
Caring for Your DTF Transfer
To maximize the longevity of your DTF design, wash garments inside out in normal temperatures, and avoid bleach or fabric softeners. Tumble dry on low or hang dry whenever possible. Do not iron directly over the transfer—if needed, place a protective cloth or parchment paper over it before ironing. Following these care instructions will help maintain the vibrancy and durability of your custom print.
)

